How to add new stuff
From the Domik perspective there is no difference between walls, doors, furniture or something else. It's all parts.
If you want to add new furniture, you have to create a new part and a visual representation of it by the part builder and the skin.
That's how it works:
- You click the Generate button in the House Generator.
- The House Generator requests its Pipeline to generate house cells (each cell is a container of parts).
- The Pipeline returns house cells to the House Builder.
- The House Builder iterates over cells and asks skins if they have some view (PartBuilder) for this part of the cell and if it is, the House Builder build it.
Read more:
how the domik builds a house, deep dive into house building process.
Let's try to add a new chair to see how it works. There are two workflows which you can use to add new parts of the house:
- Manual - do it by your hands.
- Automated - trust automation.
Manual
Manual workflow is a slow and ineffective method of adding new house parts, but it's simple and intuitive.
It's not recommended in most situations.
First, we have to create a chair part.
To do, it click on some folder -> Create -> Domik -> Part
But that's not enough. The chair can have at least four rotations, so we have to add three more parts.
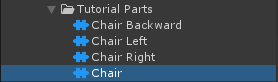
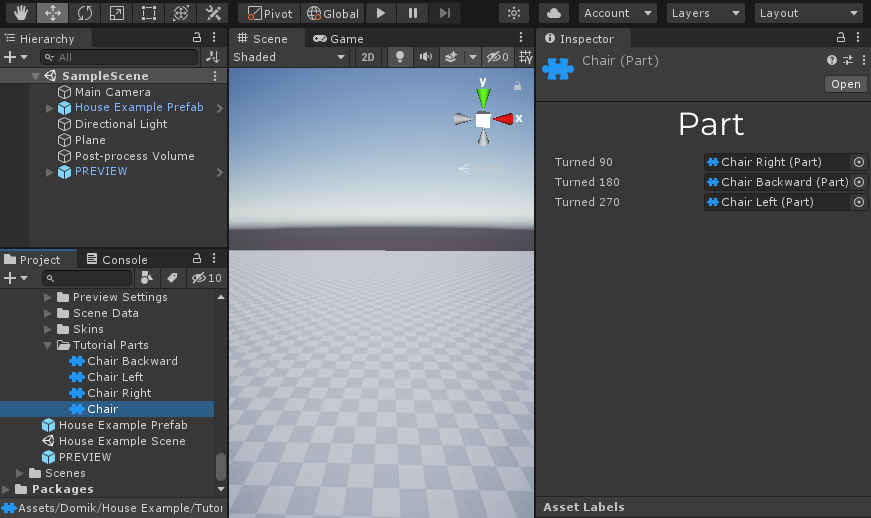
Now let's look at the Chair Part's inspector.
Here we have references to other rotated parts.
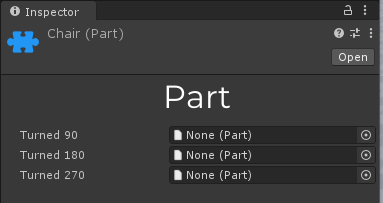
We have to set them to make things works properly.
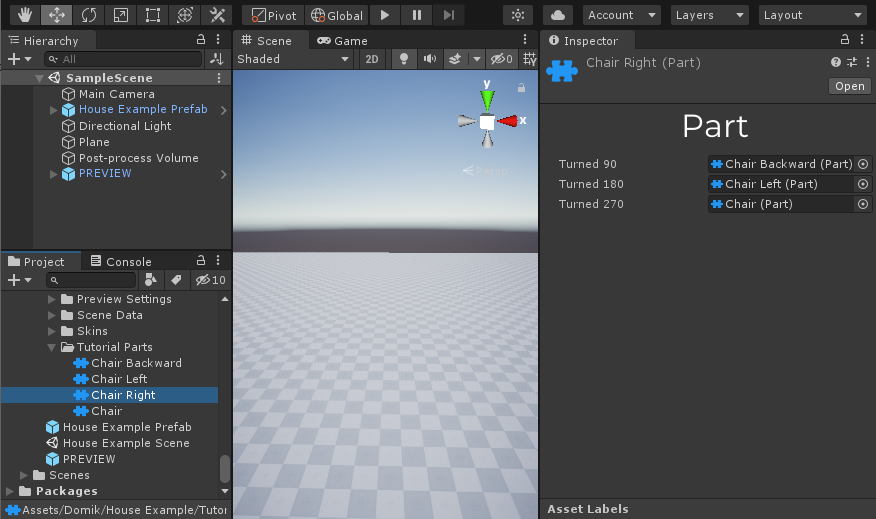
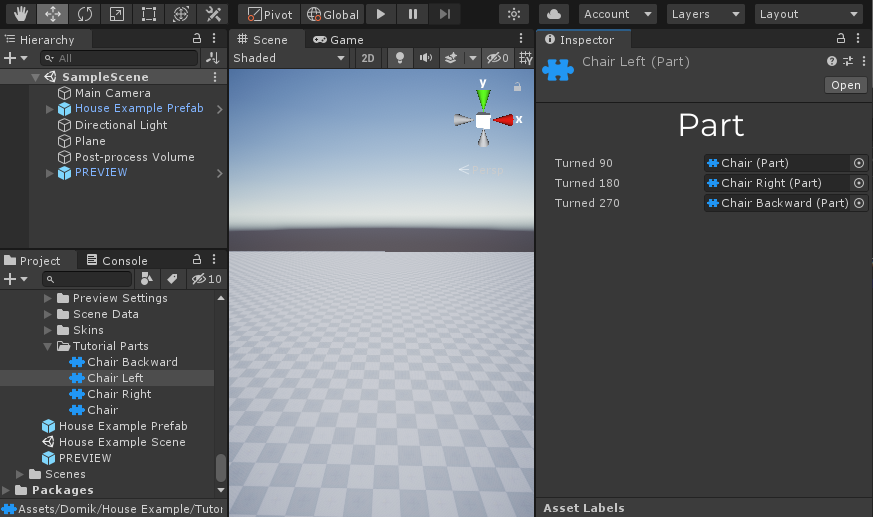
Repeat it for Chair Right, Chair Left and Chair Backward parts.
Result of setting up of parts.

Now we need to create part builders for these parts, to do it we have to use the skin system.
We can extend an existed skin or create a brand new.
Let's extend some furniture skin.
To do it go to the Domik folder -> House Example -> Skins -> Furniture -> open Furniture Origin
Basically, a Skin is a prefab with the Skin component, so you can use it as a regular prefab.
In this example we'll open a Furniture Origin prefab because it's a root prefab.
Furniture Black, Furniture White and Furniture Wooden Light are nested prefabs, so if you'll add something in the Furniture Origin prefabs it automatically will be added to these nested prefabs.
Adding Part's builder to the furniture skin
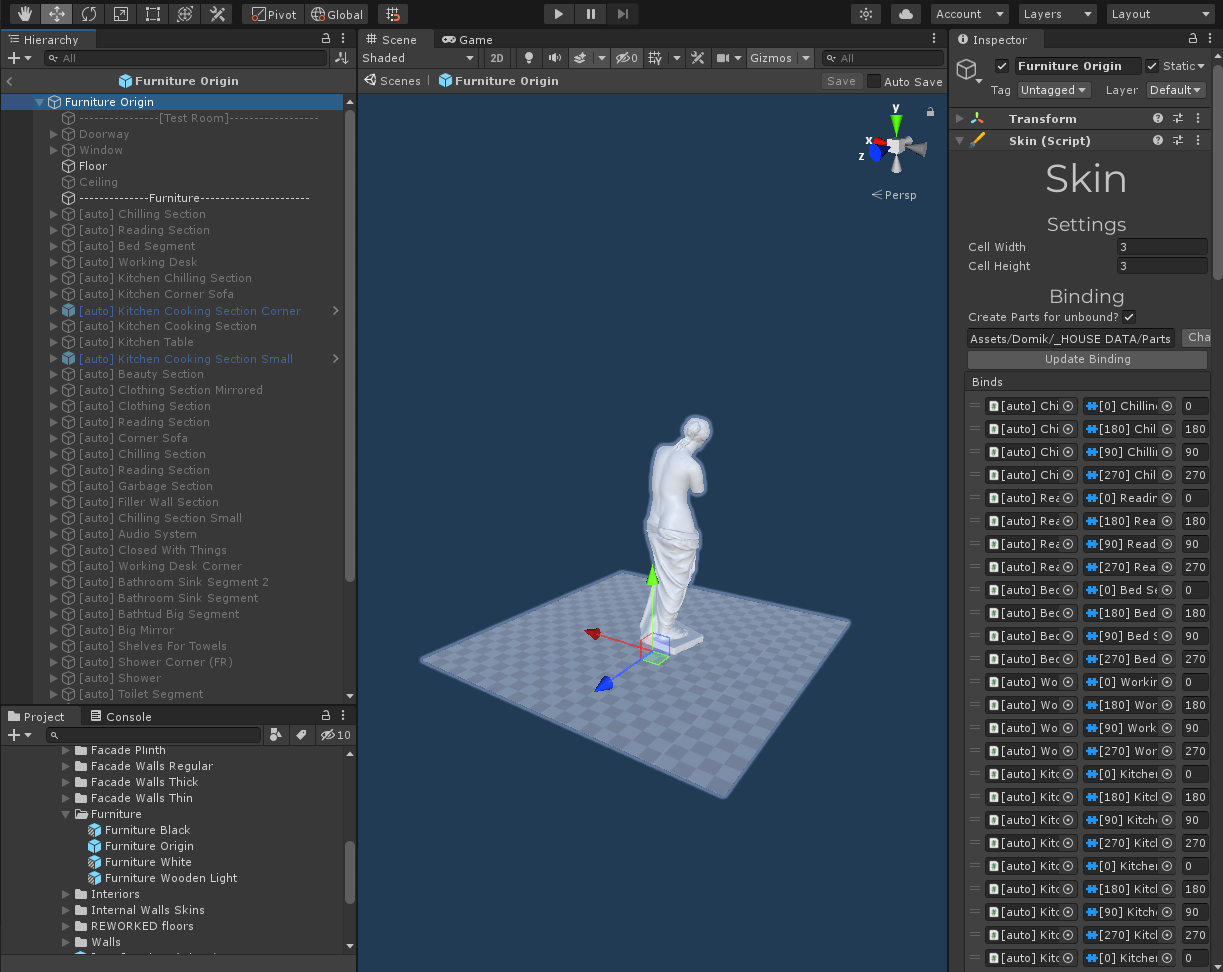
That's how the regular skin looks like.
In the hierarchy window, you can see tons of objects.
They're represents of look of parts.
That's fine to disable objects to hide them.
Disabled objects with Part Builder components will work as usual, but if you'll disable their child object, this change will affect the result of the house building.
The Skin component is in the root object, select it to work with it.

Now let's make a Part Builder for our chair!
Drag and drop some model prefab to the skin's hierarchy to do it.
Now we have to add a Part Builder component to it.
After that, we have to bind this Part Builder with a Part in the Binds list in the Skin component.
The number in the end is the rotation offset. Set it zero. There is no need to use it in this tutorial. Repeat it with the rest of the turns and add rotations.
Congrats!
Let's check out the result.
If the Preview System draws parts, you did everything right. Now you can use it to create a Placeable Object!
Read next: how to create and use a placeable object, placeable object.
Automated
Another way to add new stuff is using an auto-binding.
This workflow is recommended.
Add that you want into the skin, name it with an [auto] prefix and click an Auto Binding button.
The Skin will scan all parts in the project and if It'll find the part and the Part Builder with the same name (except prefix in square brackets) - it'll bind them together.
What'll happen if there is no part for the Part Builder?
There are two variants, depends on the Create Parts for unbound? checkbox:
- On - parts for this Part Builder will be created in the selected folder and binded with it.
- Off - this Part Builder will be ignored.
There are five possible prefixes:
- [auto] - create or find four parts with [0], [90], [180], and [270] degrees rotations.
- [0] - create or find a part with a [0] degrees rotation.
- [90] - create or find a part with a [90] degrees rotation.
- [180] - create or find a part with a [180] degrees rotation.
- [270] - create or find a part with a [270] degrees rotation.
Let's see it in action! Open the Furniture Origin skin and drag-n-drop the chair prefab to it's hierarchy.
Add the Part Builder component to it.
Add an [auto] prefix to it's name.
Use name prefixes only with things which can be rotated.
It'll work only if you use an auto-binding function.
Go to the Skin component and enable a Create Parts for unbound? checkbox if it disabled.
Now the Skin will create parts for Part Builders which doesn't have relevant parts in the project.
Select a folder there you want to put new parts.
Now all new parts will be created in this folder.
Click an Update Binding button.
We use only one Part Builder for all rotations, so there are rotation offsets to add a rotation in the process of building.
The rotation offset is a number in the end of the binding field.
Done!
Let's check it.
There is a problem: the chair rotates with little shift.
That's because the chair is not in the centre of the cell.
Let's fix it!
To do it, move the chair to the centre of the cell.
Checking out.
Congratulations!
Now you can use these parts to create a Placeable Object.
See also: how to create and use a placeable object, placeable object.