Facades workflow
The look of facades is controlling by two systems:
- Skin system
- Floor Tag system
Here is the next idea: you define a look of the house facade by skins, and then you select suitable skins for each floor in the Pipeline by floor tags.
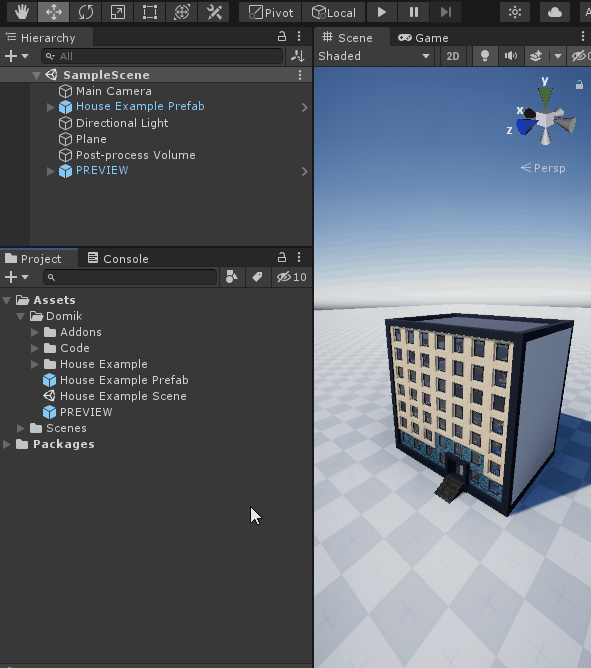
Facade of the house that we use in these examples is separated to five skins - thin facade, regular facade, thick facade, columns and plinth
Change facades by floor tags
This method provides by the pipeline. To use it, just select some floor and change its floor tag.
It works because an example pipeline includes special logic.

Here, cells of floors with facade tags will be filtered and processed to achieve the final result.
You can create other tags and generation steps to make things different.
Read more: floor tag
Change facades by house skins
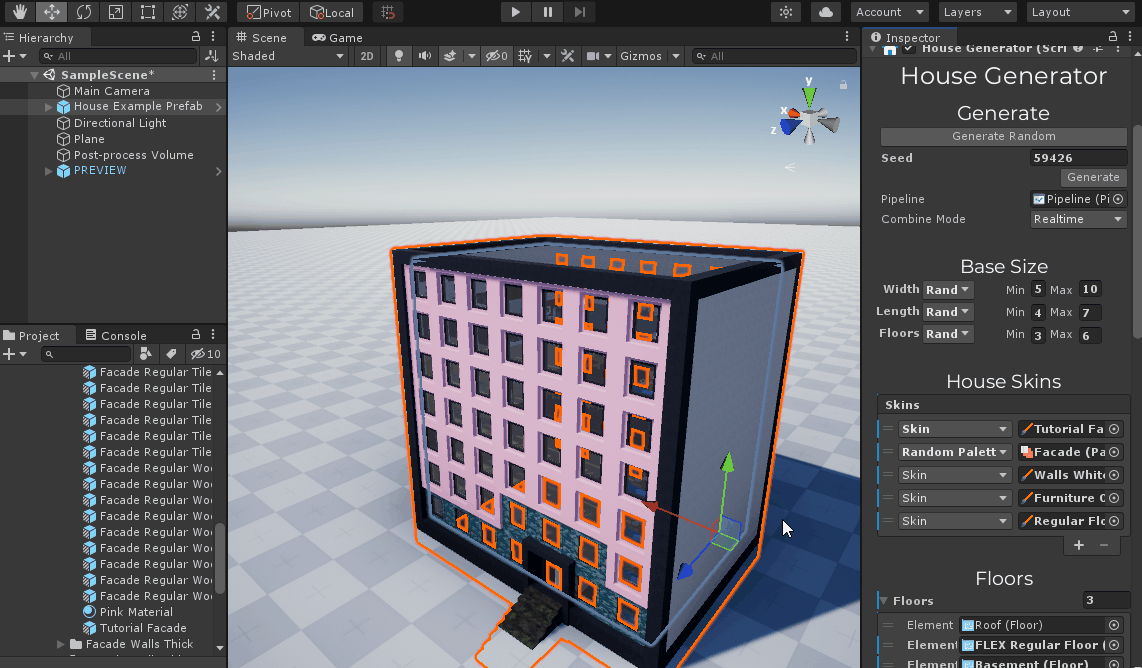
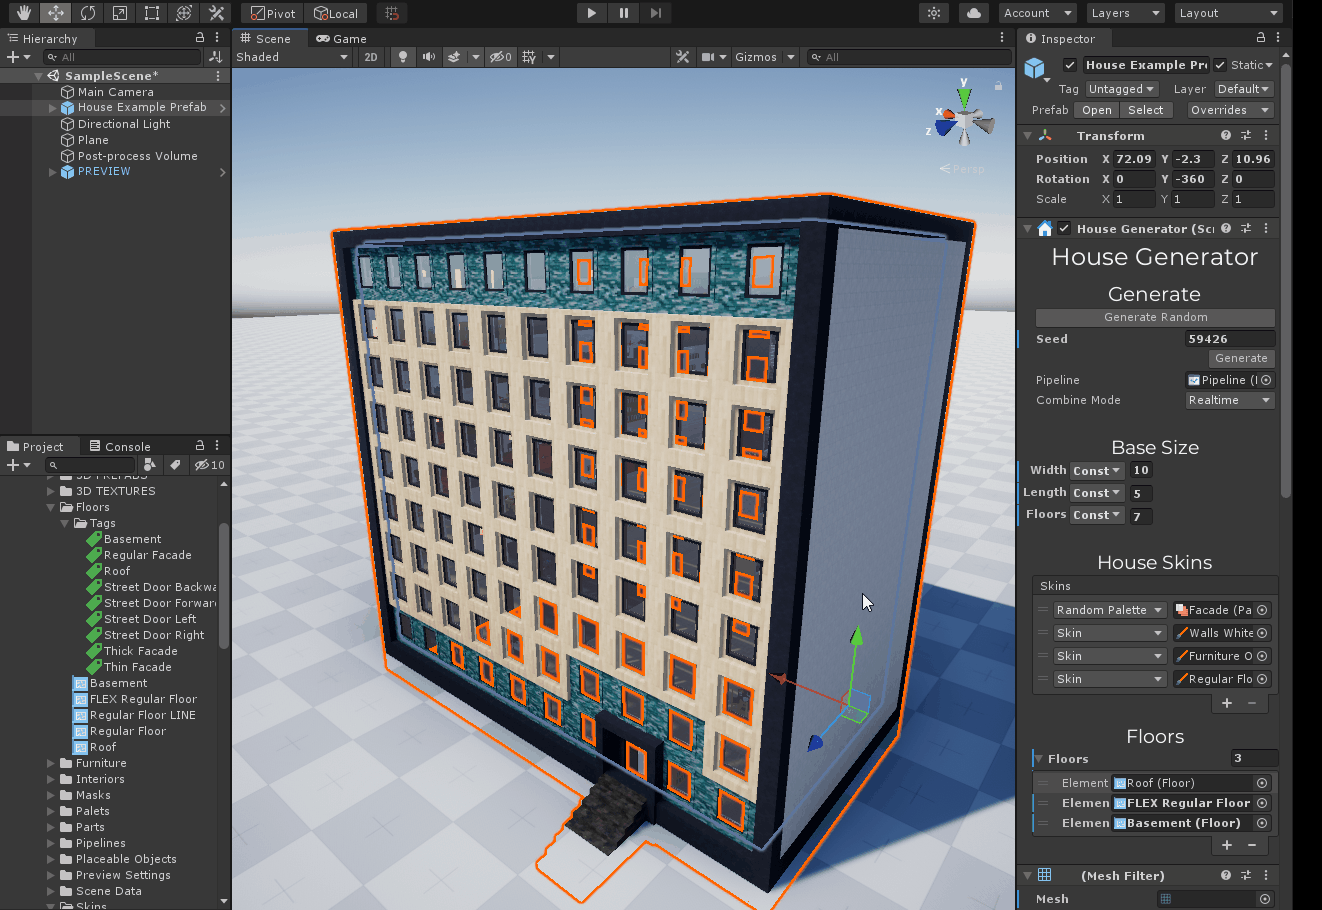
Select the House Generator on the scene and look at the House Skins panel.
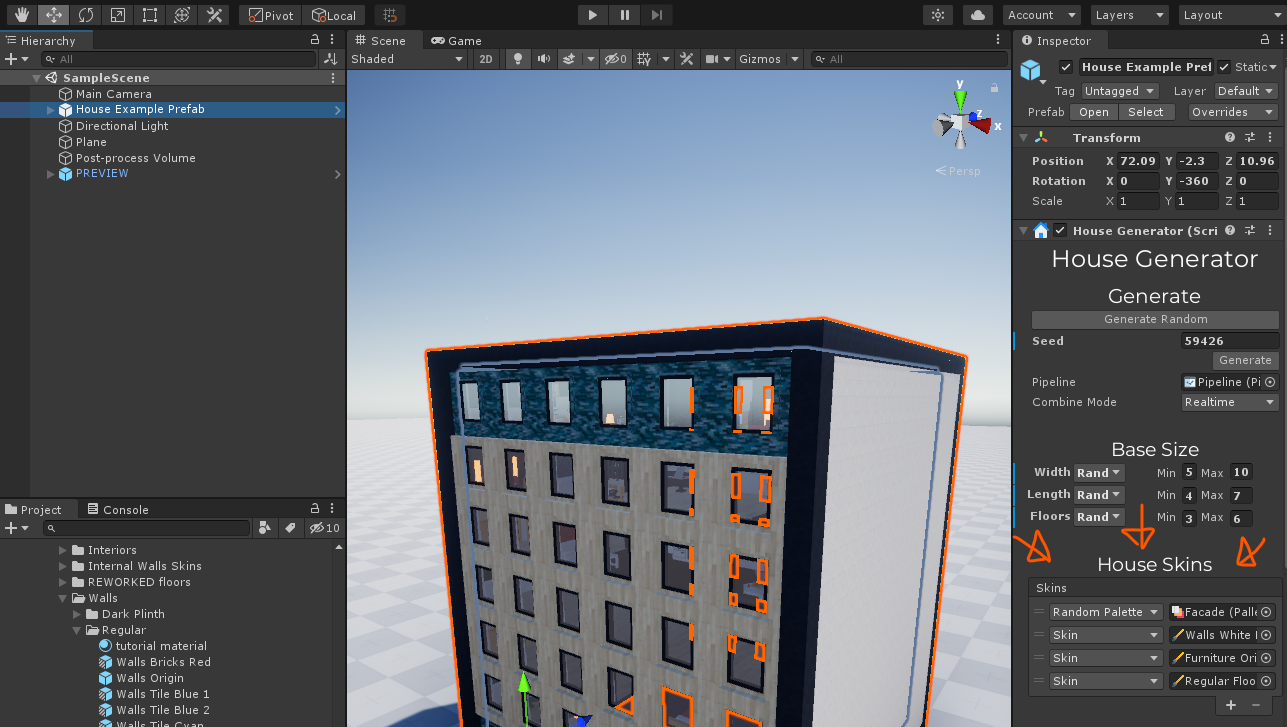
Here is already added a random container for facade palettes.
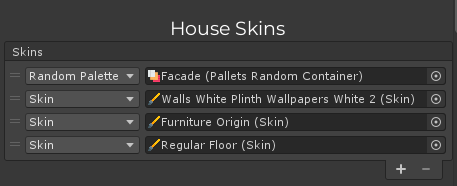
We have to add new skin in top of this skins list to override the house facade.
A facade of the house is separated into five skins, but in this tutorial we will change only one - Facade Regular skin.
To do it we have to duplicate this skin and edit it.
We can just change this skin as it shows in the how to change room walls article too.
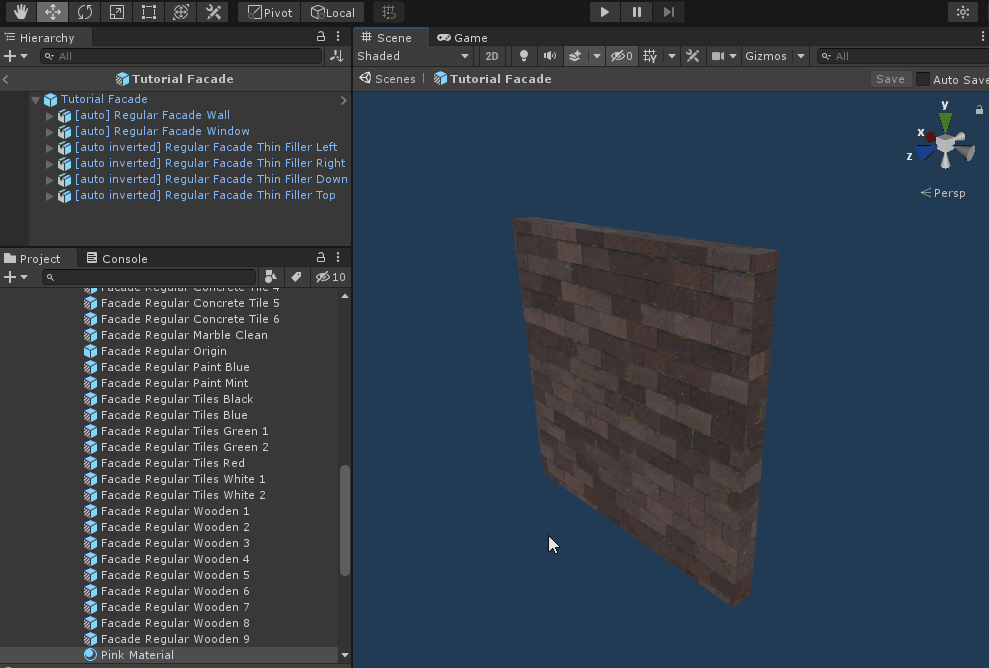
Go to the Domik folder -> House Example -> Skins -> Facade Walls Regular, duplicate some skin and open it.
Now replace materials with something other.
Exit with saving, drag-n-drop this skin in top of the House Generator skins list and regenerate the house to check out the result.
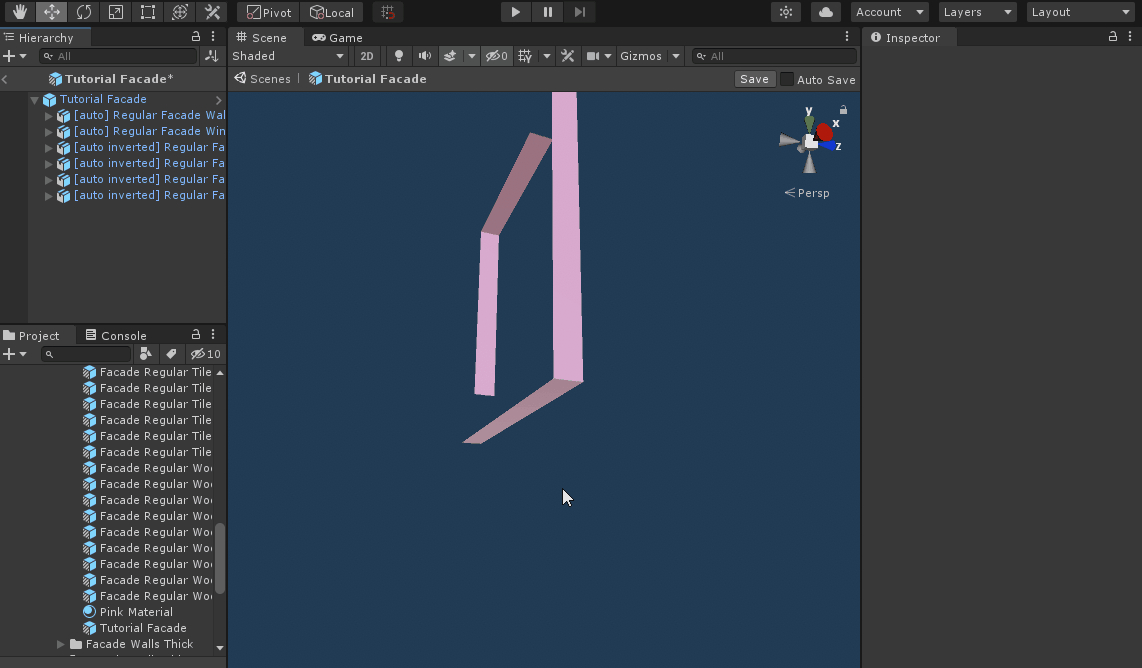
You can also change meshes of walls or add something new.
Let's make this wall even worse to add new window frames.