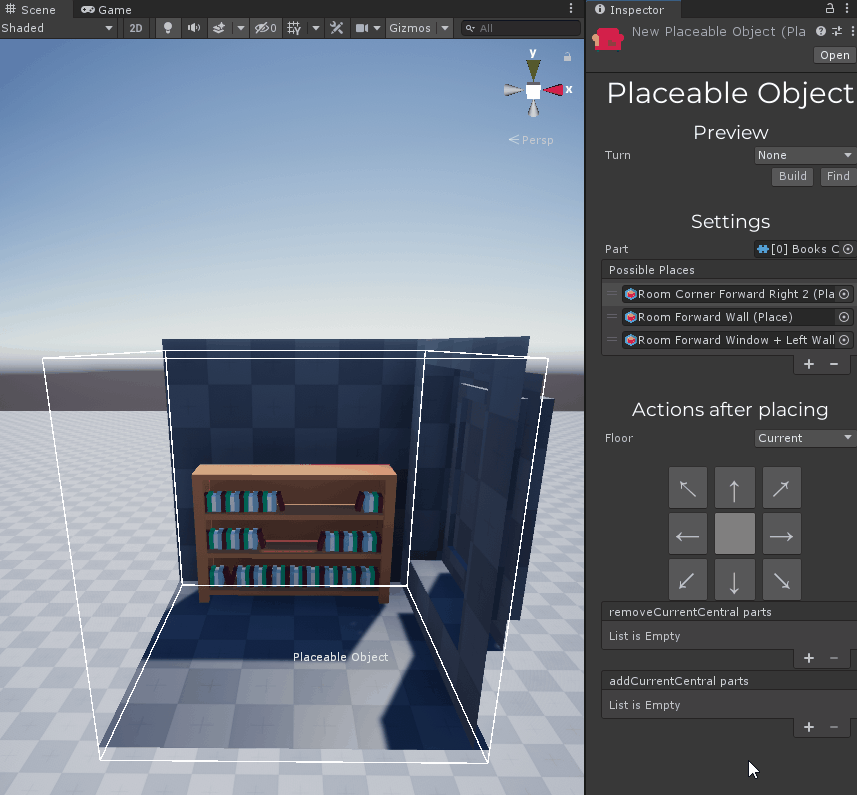
Placeable Object
The Placeable Object is a container for the part with placing requirements.
How to create a Placeable Object?
To create a new placeable object, select some folder in the Project window -> Right Mouse Click -> Create -> Domik -> Placeable Object 
Preview section
The Preview section helps you to work with the preview system.
This system will draw a result of changes of selected Placeable Object.

- Turn - select a turn of preview.
- Build button - press it to rebuild preview manually.
- Find button - press it to find the Preview system instance in the scene.
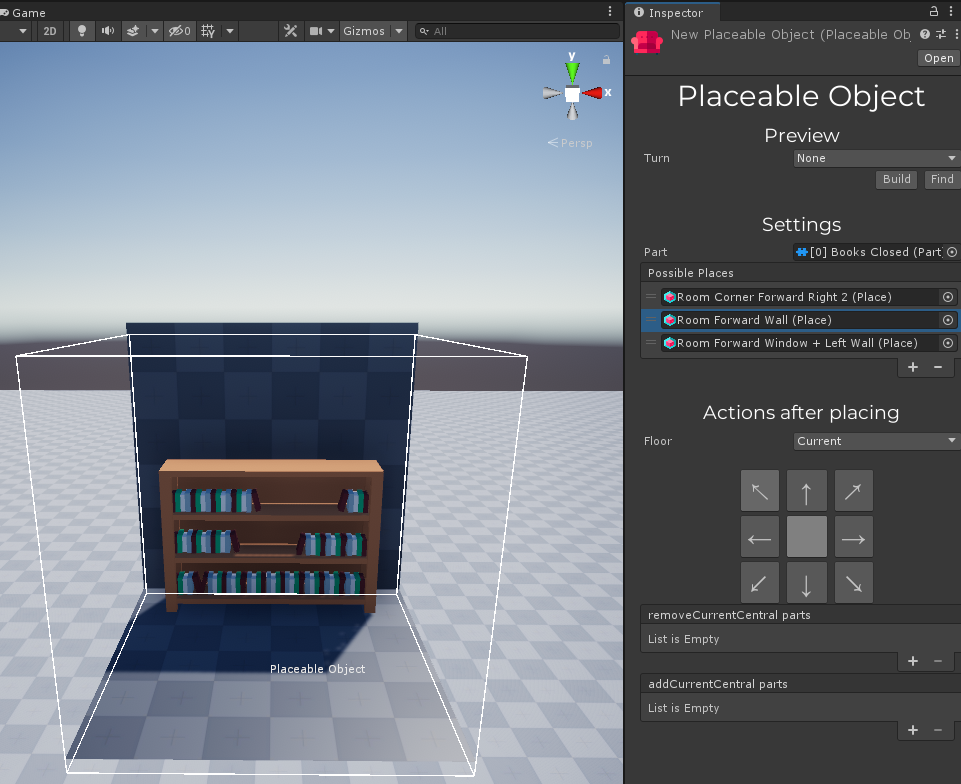
Settings section
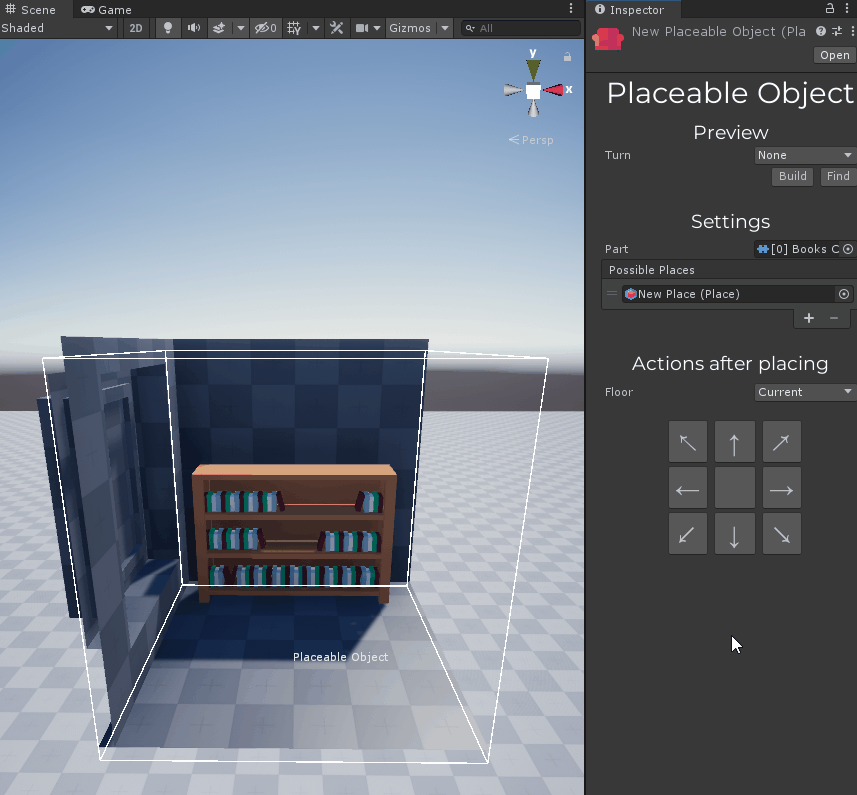
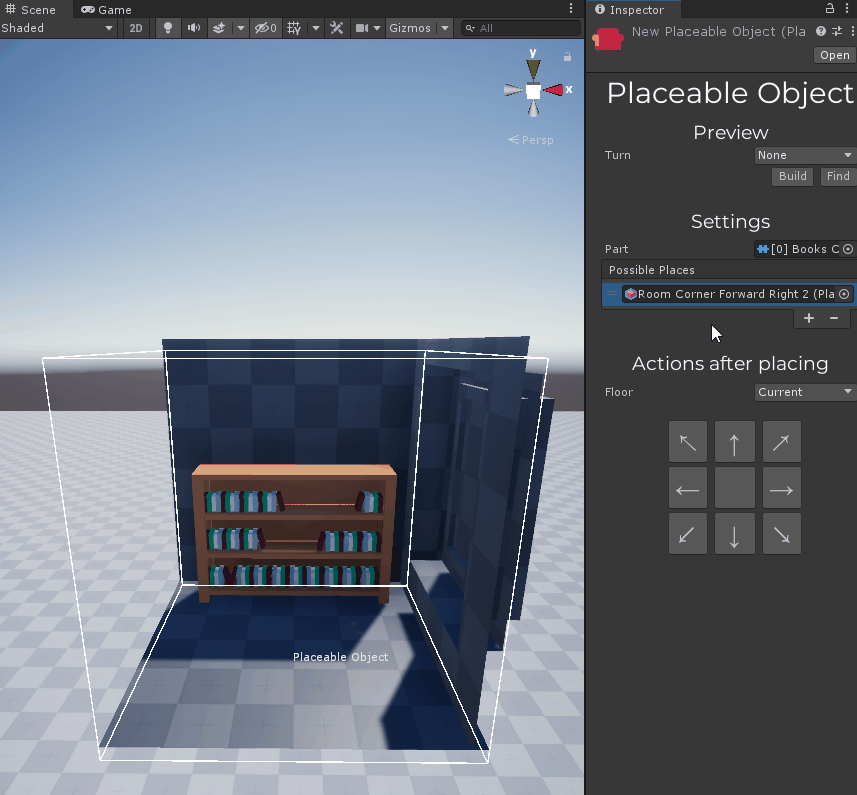
The settings section defines that you want to place and where you want to place.
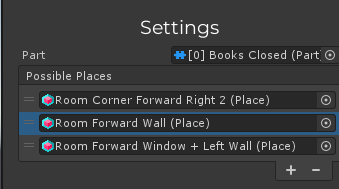
Part - the part that you want to place.
Changing of the part
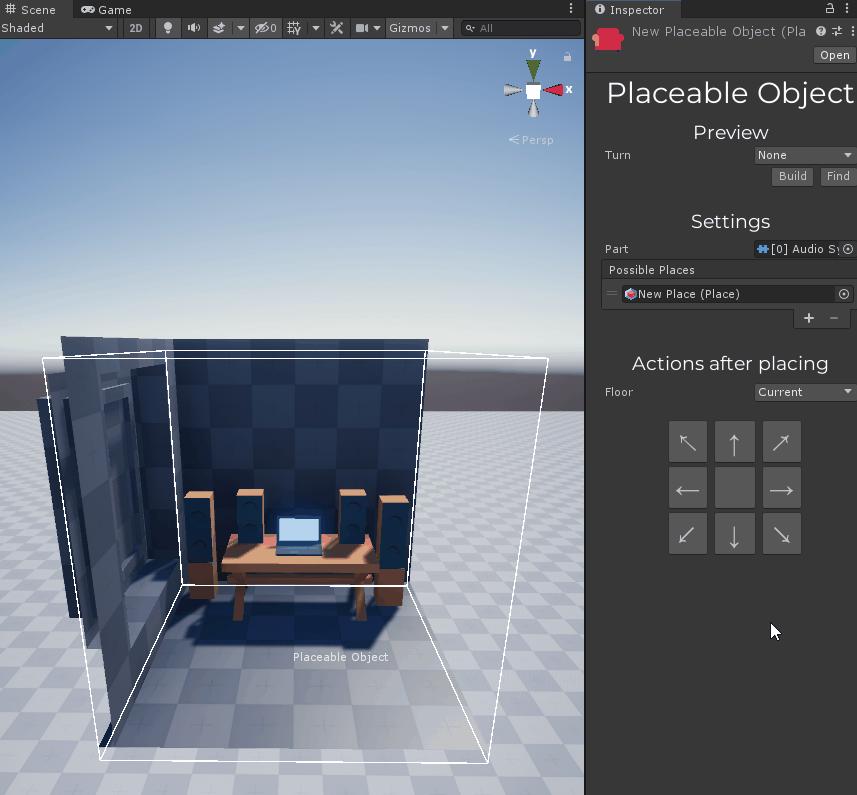
Possible Places - this is a list of places where this part can be. You can use places or masks here.
Changing of list of possible places
Actions after placing
This section is designed to help you to change an environment of the part after placing.
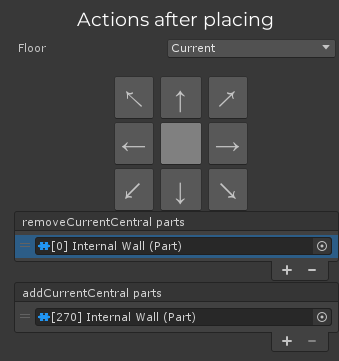
Floor - a floor what you want to change:
- Top - cells on the floor above of the part.
- Current - cells of the same floor as the part.
- Down - cells on the floor below of the part.
Here you can see a cells grid. Click on some cell to start working with it.
In the panel below, you can see two lists:
- remove list - parts what you want to remove from this cell.
- add list - parts what you want to add to this cell.
Added and removed parts will be showed on the preview with transparent green and red materials.